これをプログラムにすると以下のようになります。
| Buttonsクラス | |
|---|---|
public class Buttons
{
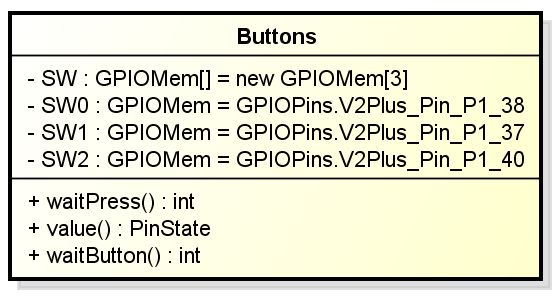
GPIOMem[] SW = new GPIOMem[3];
private const GPIOPins SW0 = GPIOPins.V2Plus_Pin_P1_38;
private const GPIOPins SW1 = GPIOPins.V2Plus_Pin_P1_37;
private const GPIOPins SW2 = GPIOPins.V2Plus_Pin_P1_40;
public Buttons()
{
SW [0] = new GPIOMem (SW0);
SW [1] = new GPIOMem (SW1);
SW [2] = new GPIOMem (SW2);
for (int i = 0; i < SW.Length; i++)
SW [i].PinDirection = GPIODirection.In;
}
public PinState value(int n)
{
return SW [n].Read ();
}
public int waitPress(out int n)
{
for (int i = 0; i < SW.Length; i++) {
if (SW [i].Read () == PinState.Low){
n = i;
return i;
}
}
n = -1;
return n;
}
public int waitButton()
{
int n;
while (true) {
if (waitPress (out n) != -1) {
break;
}
Thread.Sleep (50);
}
return n;
}
}
|
1 2 3 スイッチのオブジェクトの配列 4 5 長い名前なので簡略化する 6 7 8 9 10 11 配列にオブジェクトを設定 12 13 14 15 入力に設定する 16 17 18 入力ピンの状態を報告する 19 LowかHigh 20 21 22 23 どのスイッチが押されたか知らせる 24 25 26 27 28 29 30 31 押されていなかった場合-1を返す 32 33 34 スイッチが押されるまで待つ 35 36 37 38 39 40 41 42 43 押されたスイッチ番号を返す 44 45 |